Getting Started with Yuki API
Welcome to the Yuki API! Follow this guide to get up and running with our API, allowing you to integrate seamlessly with our platform and unlock powerful automated capabilities for your financial management needs.
1. Sign Up for a Developer Account
To integrate with Yuki's API, third-party applications must sign up for a developer account. In order to register, go to Visma Connect Developer Portal page.
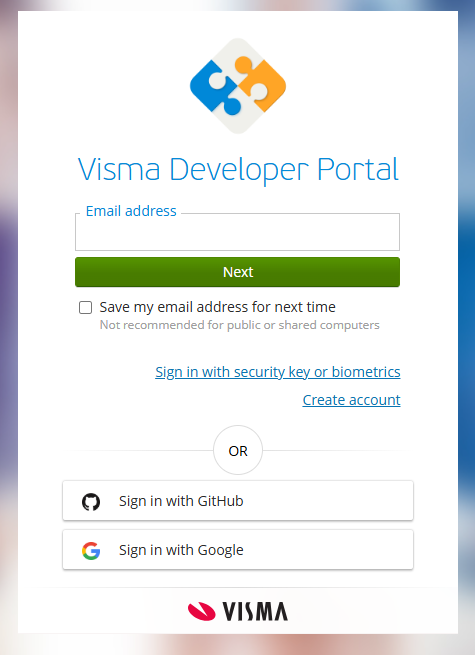
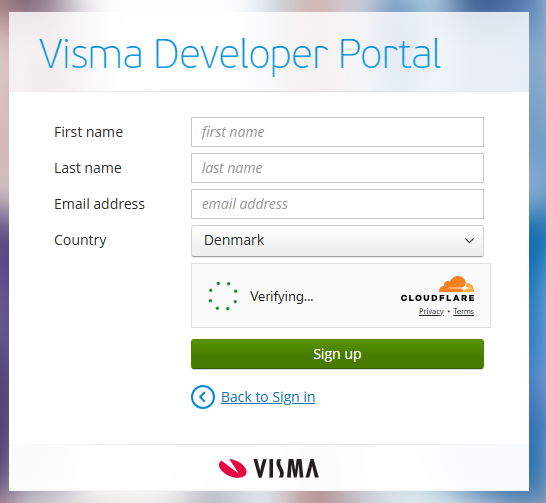
As a first step, a user registration form is filled, to have access to Visma Developer Portal. After filling the form, an email will be sent by Visma to complete the user registration and asign a password the newly created account.
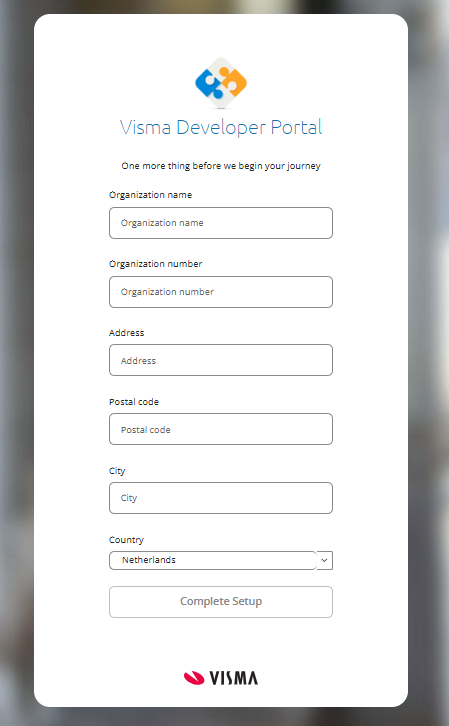
The first time logging into Visma Developer Portal you will also be prompted to fill some information regarding your organization. After filling it in, the user is given full access Visma Developer Portal.
2. Creating your application
To interact with Yuki's API, the intregator must create an application within the Visma Developer Portal. This process establishes a secure and organized way to manage your API interactions.
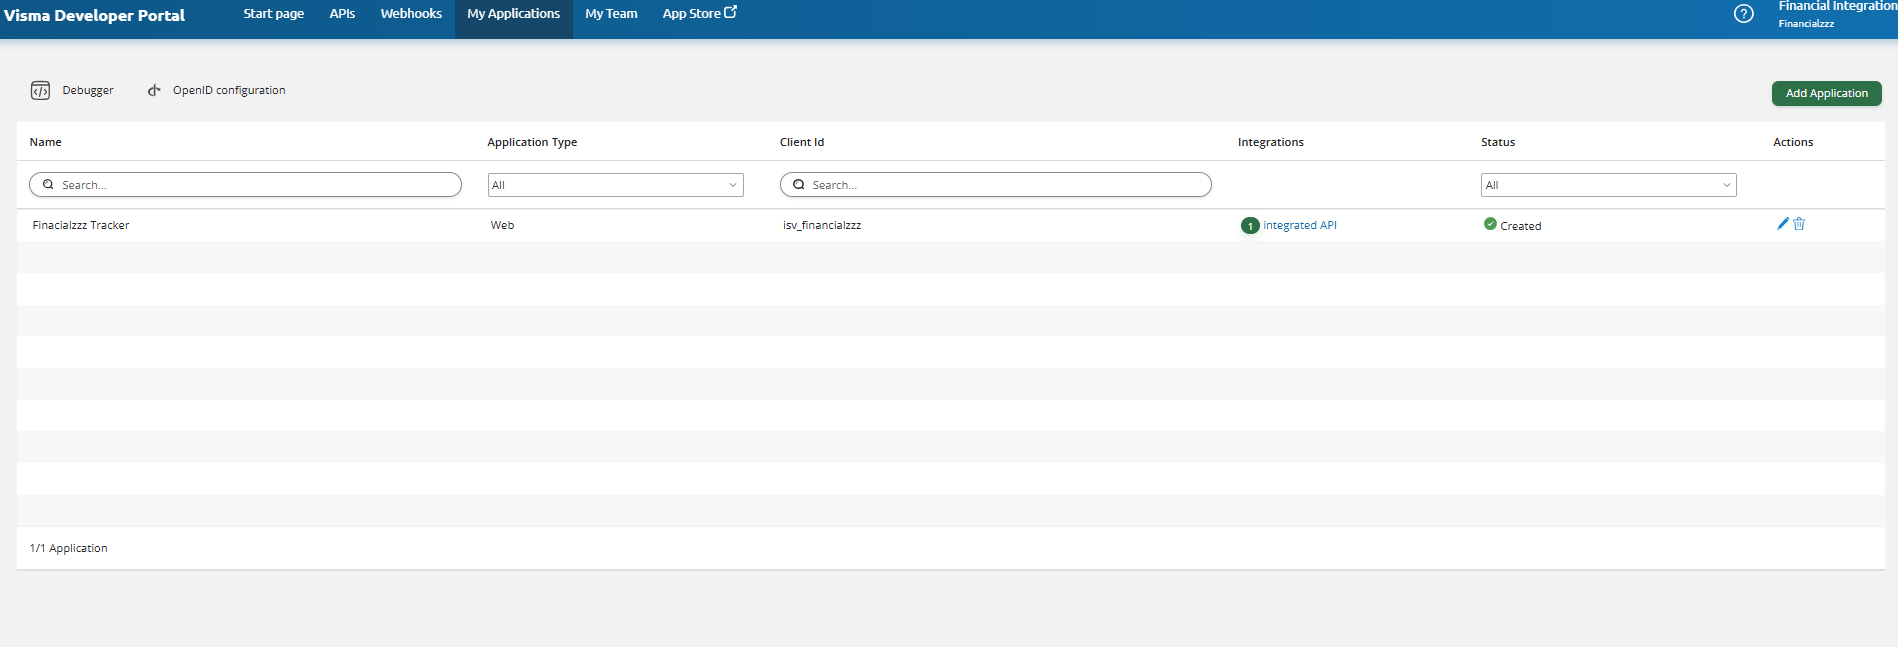
1: Go to "My Applications" tab on the navbar, and click "Add Application"
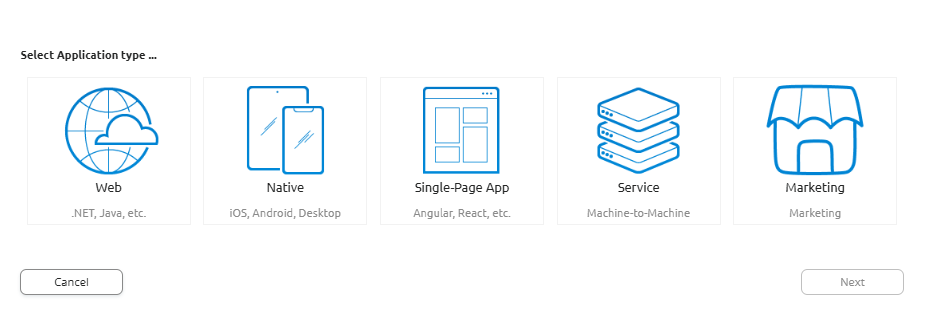
2: Choose your Application type Yuki API is an interactive API, meaning that it has User Involvement while performing request to the API. The typical applications that can integrate with Yuki's API are Web, Native or Single-Page Applications. Observation: If you choose your application as a Service application, you may not be able to see Yuki's API for Integration.
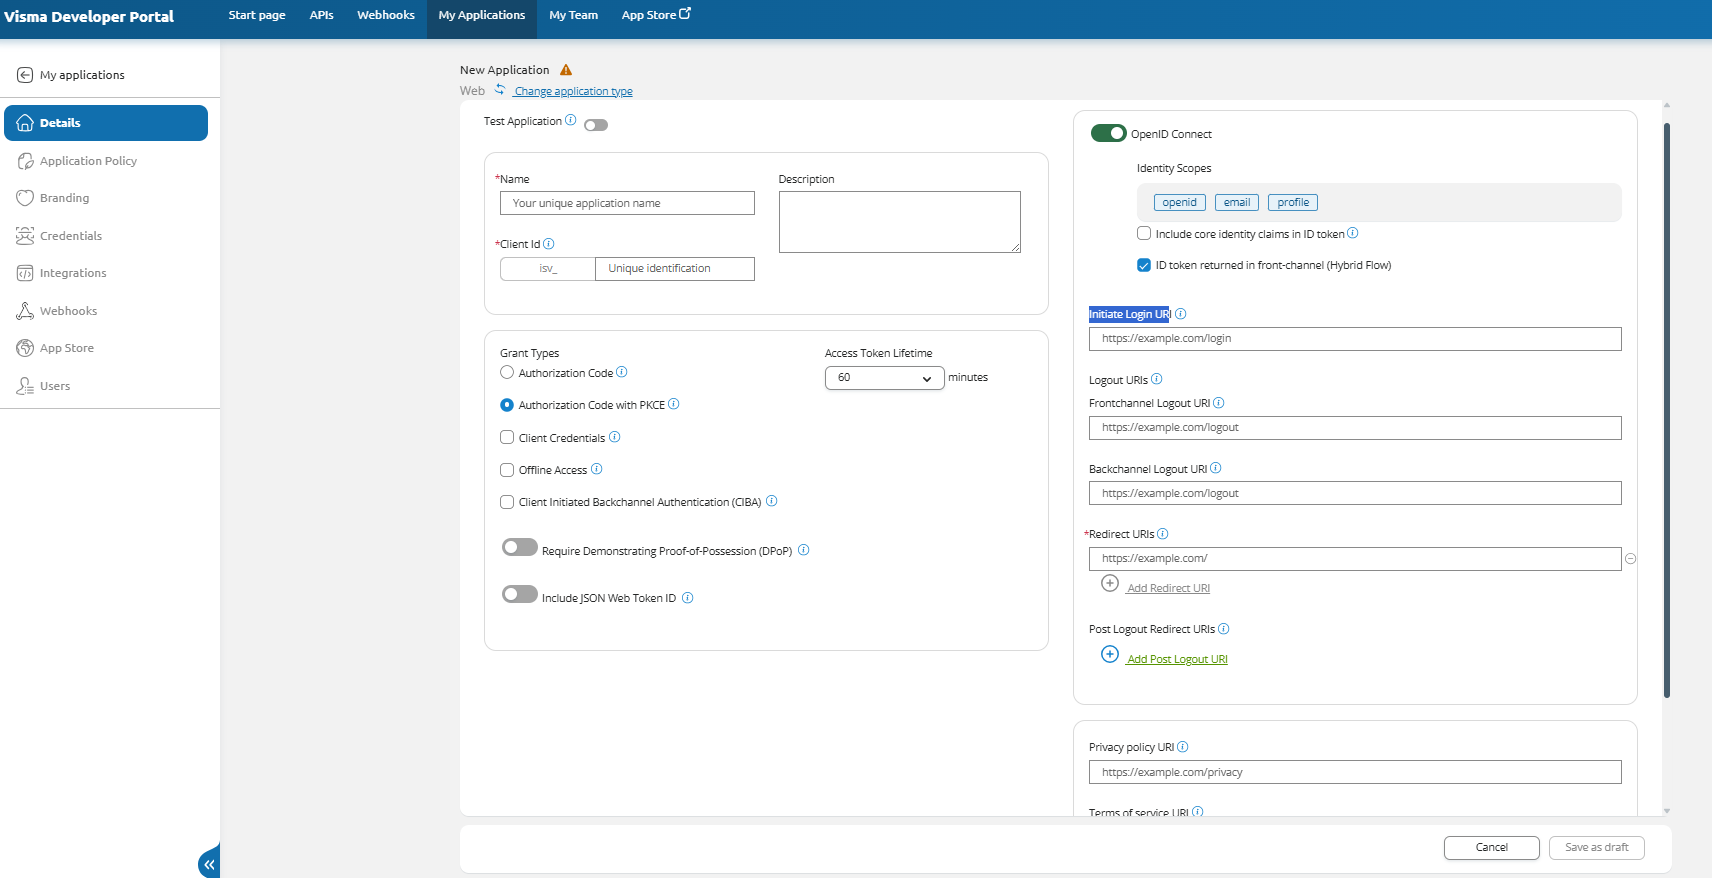
3: Configure the application in Visma Developer Portal When configuring the application in the Developer Portal, the information to fill in is in respect to the Third-Party application, and not to Yuki. Give it a name and a ClientId. The Grant types the application can support Fill the "Initiate Login URI", "Logout URIs", "Backchannel Logout URI", "Redirect URIs"
After filling all required information, the owner is able to "Save the Application as Draft", and after that pushing the button to "Create" it
3. Obtain API Credentials
After successfully creating the application, having a Client Id and a Secret to authenticate the application when requiesting User Tokens.
- Client Id: Is a public identifier for the application, and uniquely identifies the application making requests to the API.
- Secret: It is a confidential key, which must never be shared, which is used alongside the ClientId to authenticate the application with the API. During this step you will be asking for the Integration with Yuki API with the scopes that you find necessary for your use cases.
The combination of ClientID and Secret allows the API provider to verify and control which application can access their services, preventing unauthorized access and ensuring that only approved applications can interact with the API.
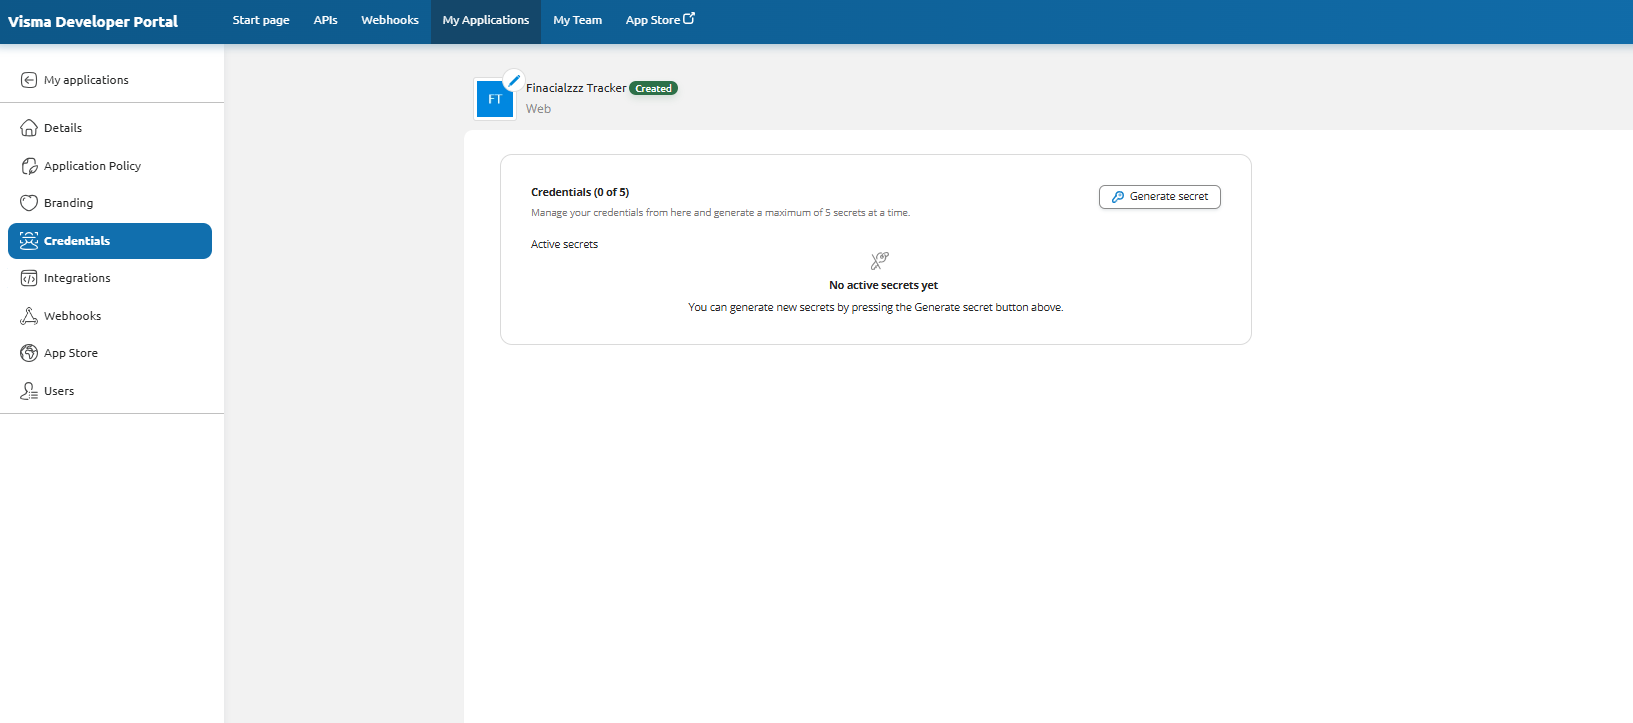
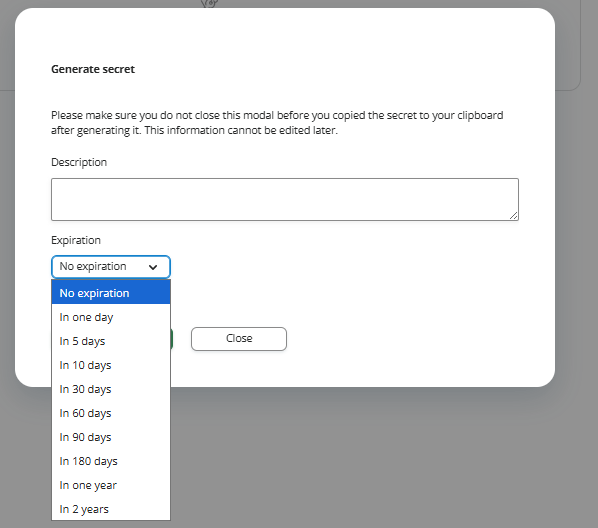
In order to generate a Secret for the application, a user must go to the "Credentials" tab on the sidebar, and click in "Generate Secret" button. Entering a brief description and expiration time for the secret is enough to generate it. Expiration Time is up to 2 years for a secret. The application owner must make sure to copy the Secret, as it is only visible on the moment of creation. An application can have up to 5 Secrets.
4. Integrating with Yuki External API
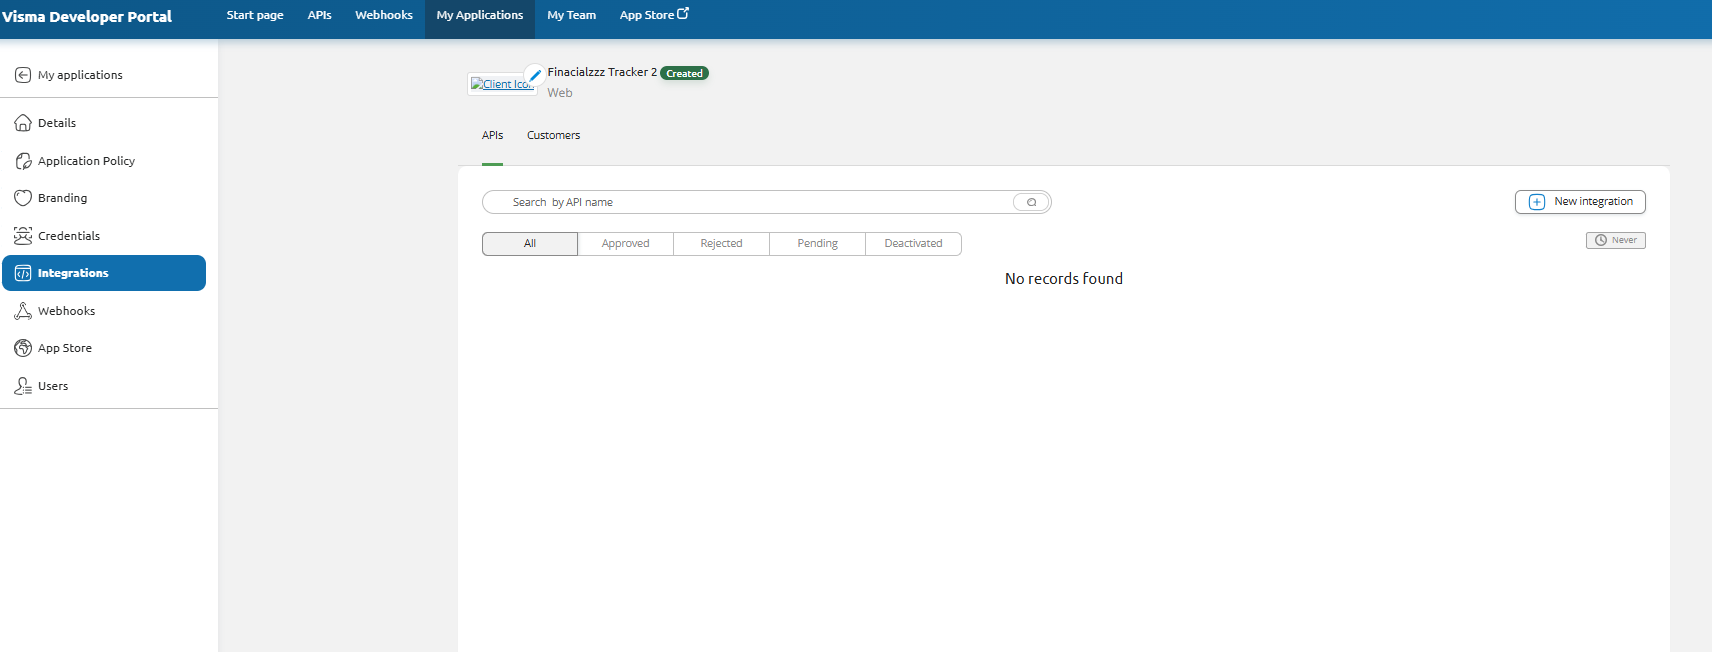
In order to perform an integration between the third-party application and Yuki's API, the third-party application must be in a "Created" state (draft application will not have the Integrations tab available). Going to the Integrations Tab will allow an application to request an Integration with any API available on Visma Connect Developer Portal. To integrate with Yuki External API, the following steps are taken:
1: Click "New Integration" button.
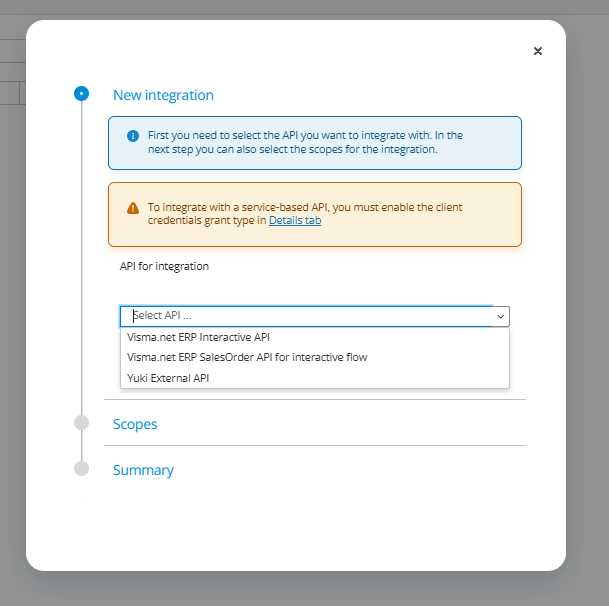
2: Choose the API for Integration. In this case it will be Yuki External API.
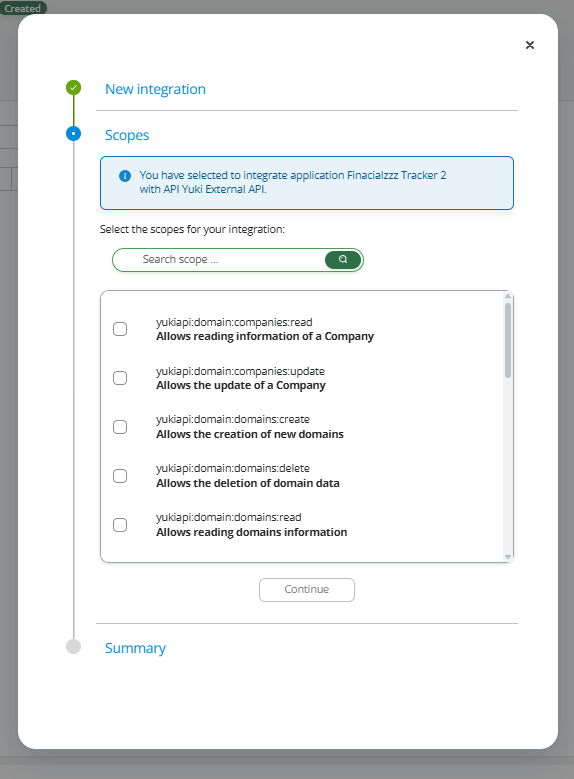
3: Choose the scopes the application needs access to. Only the permissions an application should have, are the ones that should be the ones requested.

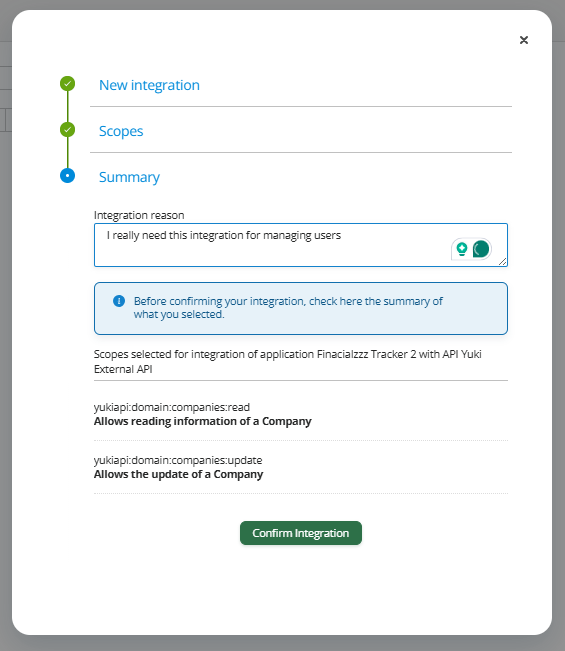
4: Enter the integration reason on why you need that application to integrate with the API, and press "Confirm Integration" button.
5: Wait for the Integration to be approved. Yuki will have to accept the integration before tokens can be issued with the necessary API scopes to perform requests to Yuki External API
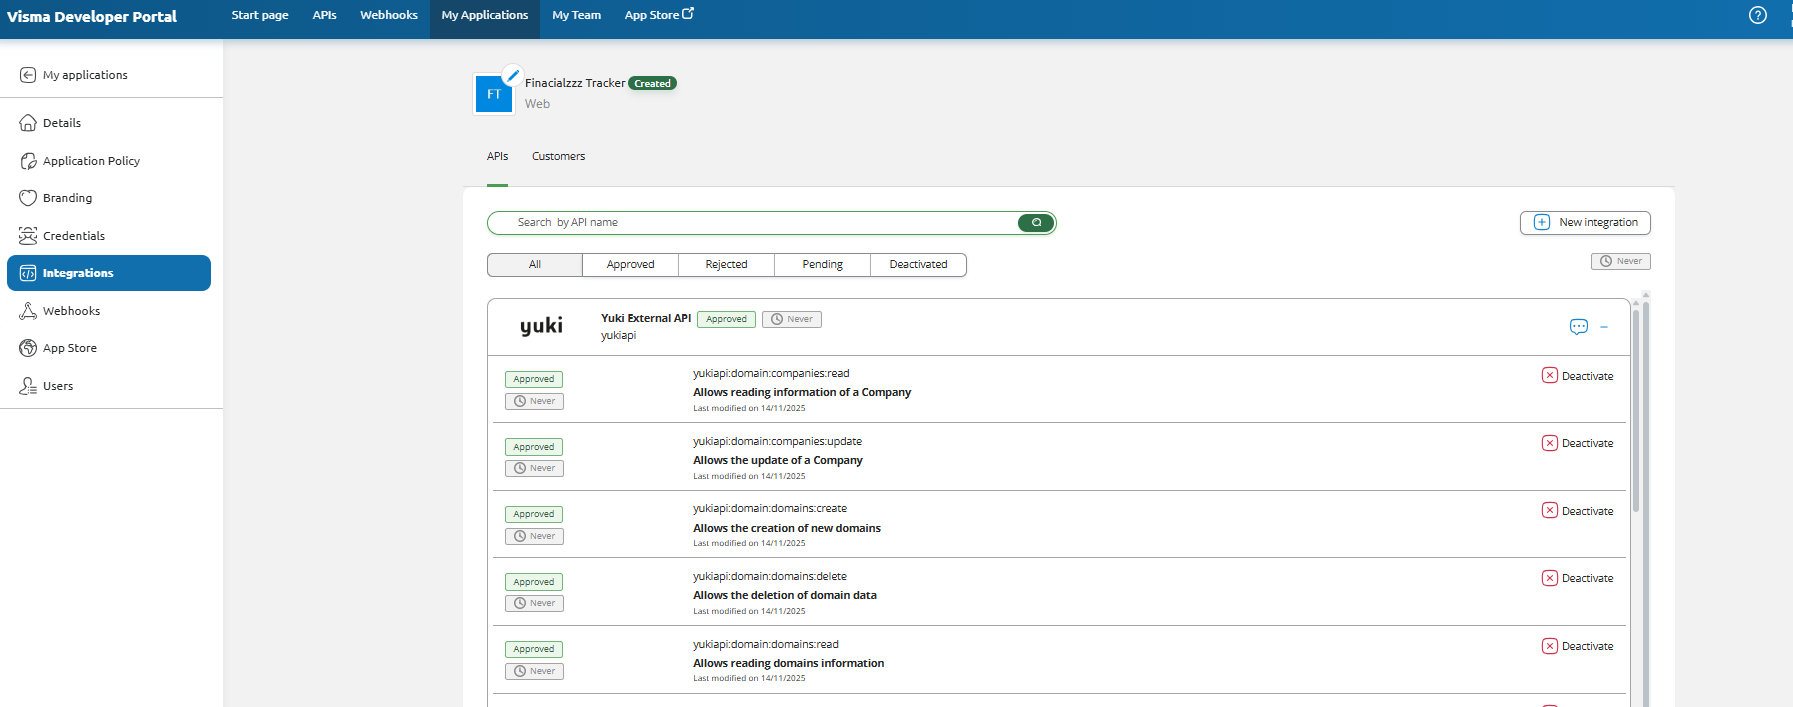
6: After the Integration is approved, the status of the Integration and management of the scopes will be available on the Integrations section of the Application.
5. Refresh Tokens
Refresh tokens are long-lived credentials issued to a client application after a user authenticates and provides consent for resource access. Unlike access tokens, which have a short lifespan to minimize security risks, refresh tokens are used to obtain new access tokens without requiring the user to re-authenticate. Visma Connect supports the use of Refresh Tokens, and configuring it is up to the Third-Party application to fully configure the Refresh Token Strategy. To enable the Refresh Tokens, the application owner must set the Grant Type to also include "Offline Access".
After doing so, the application owner must decide on the strategy the application will use:
- Re use: Refresh Token remains the same when used
- One time: Refresh Token is updated every time when used
The refresh token expiration strategy is also configured in the application details page, and according to the Refresh Token usage strategy chosen before, in the limit, a Refresh Token expiration time may be set to Unlimited if needed.
Next Steps
Now that the Application is set up, explore the APIs Yuki has and how to integrate with it.
Yuki API rellies on Visma Connect to provide a robust identity and access management platform for secure API authorization.
Yuki supports multiple APIs that support multiple operations from User Provisioning to Domain Management.
Yuki API is in constant evolution providing updated versions that adapt to users needs, but we provide version trackability .